DIY: How to paint a laptop case - super EASILY
Normally I’m a minimalist. I love clean, blanc looks and open spaces - but I am also an artist and having art around me that fills me with joy everyday definitely trumps that. In a few easy steps I’ll show you how to create your own personalised case - works with pretty much any device case as long as it is see-through. So grab your paintbrushes and get creative with me :)

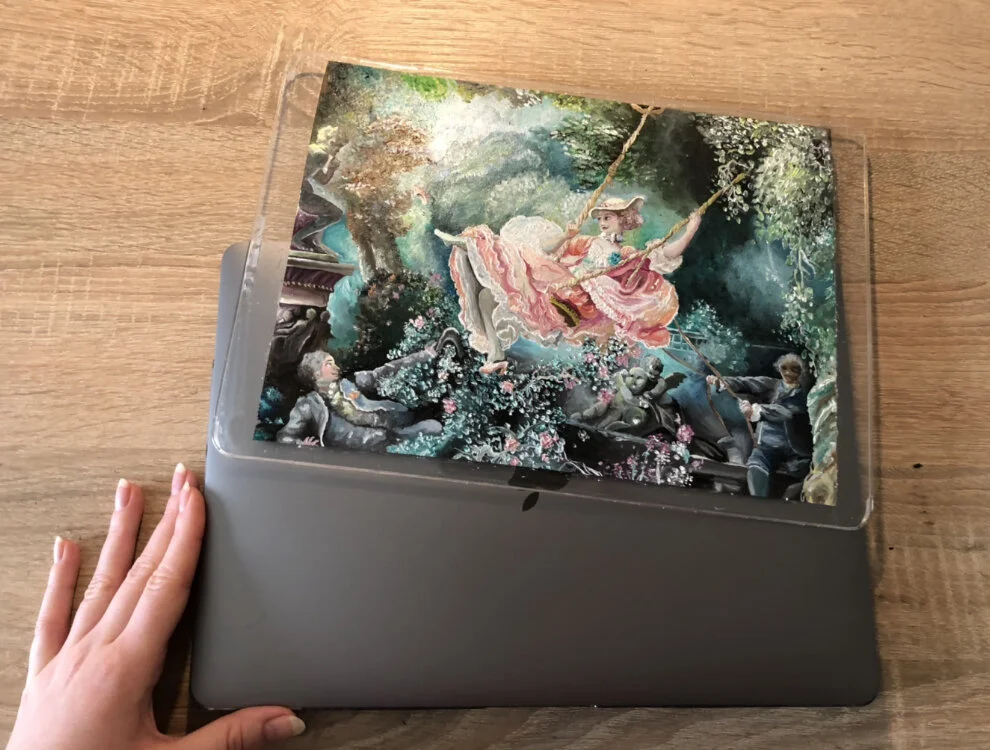
My finished product: I decided to paint a section of “The Swing” by Jean-Honoré Fragonard (1765 - Rococo). Of course this will work with pretty much every painting, or feel free to come up with a motive of your own.
Step 1:

First I made a sketch of the most important outlines on my tablet and printed it. Mind the format here - A4 was perfect for my 13” laptop. You might have to resize.
Of course here you can go as detailed as you like, maybe add shading or even colours. I stuck with simple outlines here, since everything else was too much for my taste.
Step 2:

Now tape the paper on the back of your case (so you can paint the front) in place where you want it also look for straight edges here. Maybe try it on your device first so you don’t paint it on upside down on accident.
Also check your tape, before you put it on your case. Mine left annoying glue residue after having it on for a week and it took a lot of effort to remove.
Step 3:

Get painting! This is the most fun and also the most frustrating part. What you can see here is my progress after one day.
Choose your paint to your liking - I’d recommend oils or acrylic. I chose oils for this because I find the colours are just more vibrant and they give me the freedom to move them around even after a few days since they take a long time to dry. Oil paints are pricier than acrylics though.
If you are on a budget or simply a little impatient maybe acrylic paint is more for you: It dries super quickly for fast and easy use and can be pretty cheap.

This is my progress after 3 days. Depending on the motive you chose, this might take a while… mine was very detailed.
I love the process though, to watch it grow. As you can see here, I started in the left top corner and moved counterclockwise so I would not smudge the paint with my hand or sleeve as I go. For left-handed people I’d recommend starting in the right top corner and moving clockwise.
Step 4:
On day 5 I finally finished my painting and I LOVE it.
If possible, remove the tape while the paint is still wet so that the colour does not chip.
Depending on the kind of paint you chose, let dry for an appropriate amount of time (days/weeks with acrylics, about 6 months with oils) before applying a protective top layer (optional).
Step 5:

ENJOY
Enjoy every stroke, shade or texture of your masterpiece. It may not be perfect, but that’s the beauty in it. It does not need to be an exact copy of something, giving it your own touch and learning from it is what makes your piece unique.
I hope you enjoyed this DIY idea… I love implementing art in my daily life. It keeps me inspired and fills my heart with love. You can share your artwork with me on instagram @Lilly_lockwood.
(Mind the safety information on your paint and other tools)
See you next time :)
— love Lilly